OK I’m getting a nicer flow with MD so I decided to tackle a kind of Hooded tracksuit I
sketched out
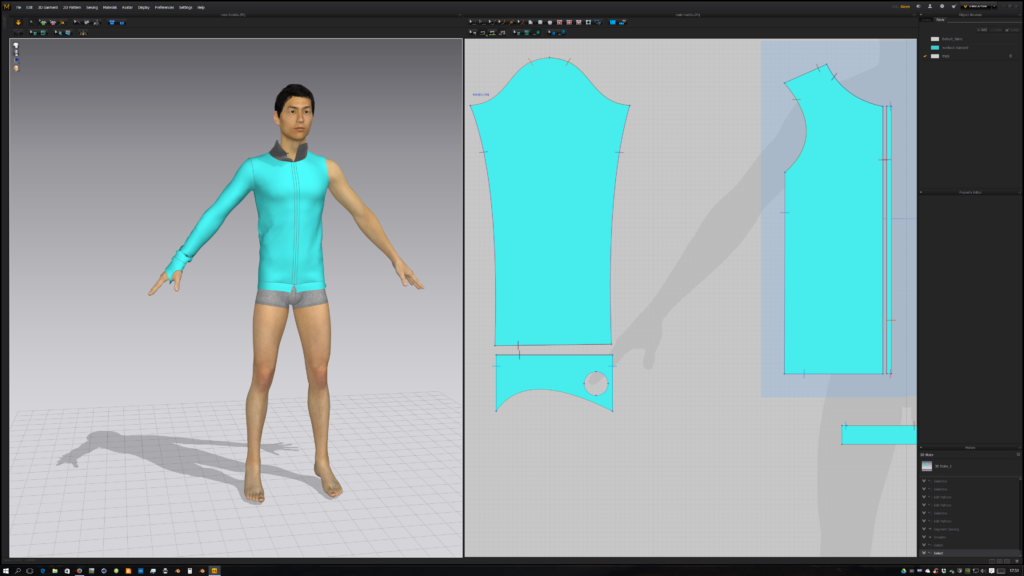
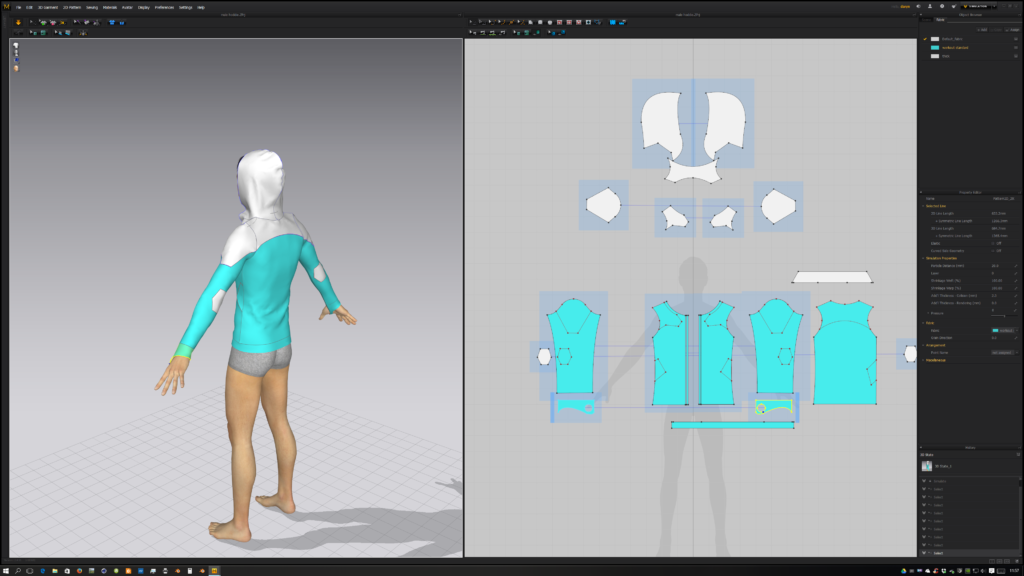
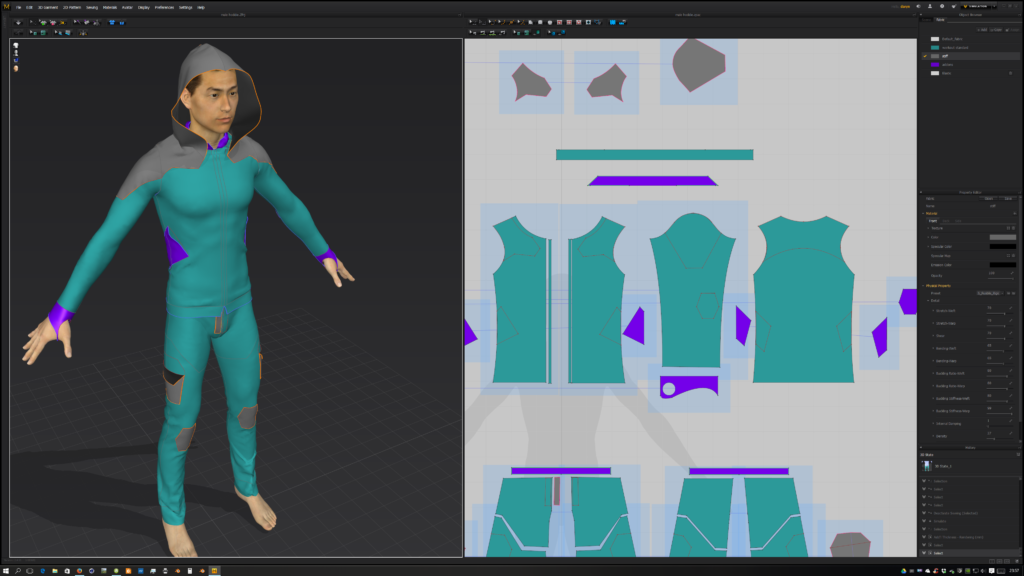
OK I’m getting a nicer flow with MD so I decided to tackle a kind of Hooded tracksuit I
sketched out


I always wanted to design nice clothing: stylish; cool looking; desirable. so I sat down using Cinema 4D and (then later Blender) to design clothing that would be worthy of any catwalk in Paris, Milan or London.
After the 14th version I realized that I just wasn’t achieving that authentic look using either of the above applications.. not without a hell of a lot of tweaking which equated to time I didn’t have.
So I bit the bullet and said okay let’s see if there’s an app that specializes clothes
design.
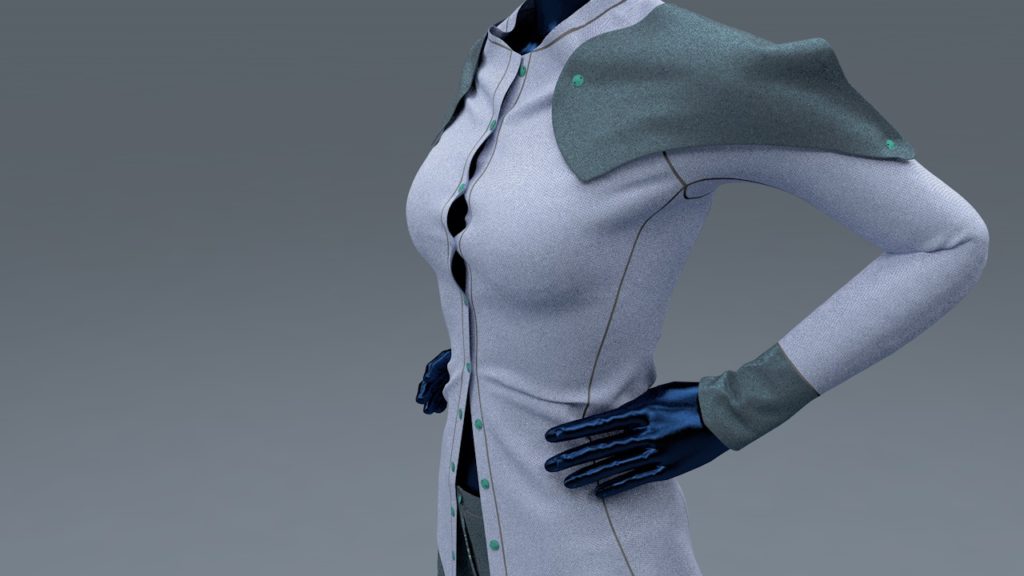
There was one that floated to the top of a very short list called Marvelous Designer. Below is the output of my first attempts to create a female dress suit using version five
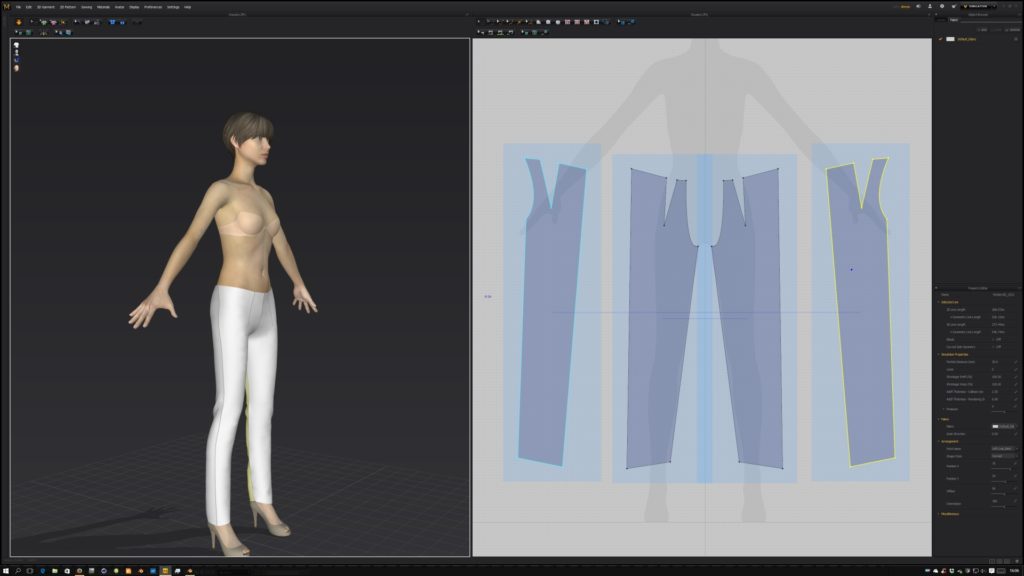
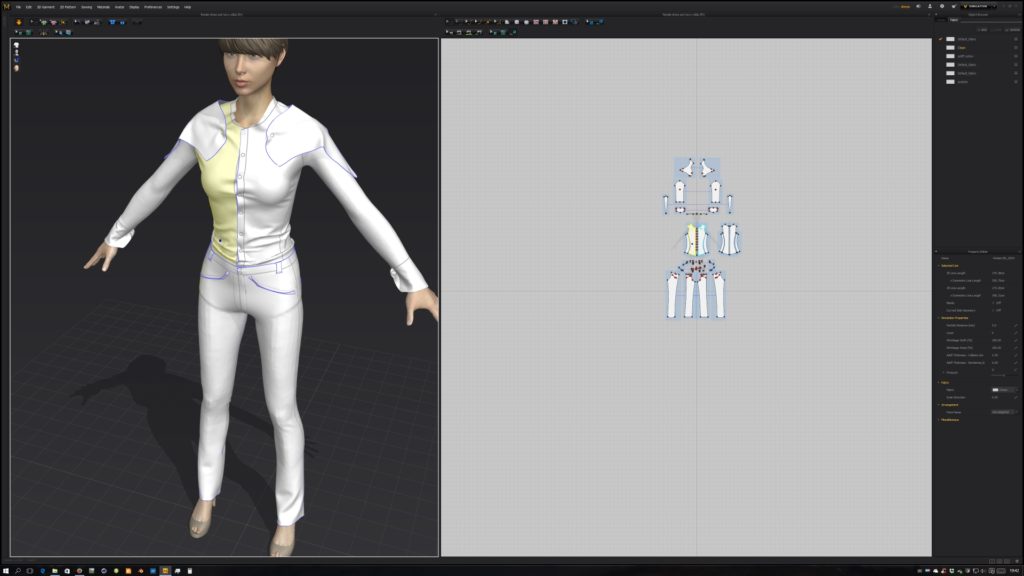
As my knowledge and confidence grew (heck now that I knew what darts were – and
how to use them I was unstoppable!) I tried to add a design motif to the shirt and later
trousers.
Here I am playing with texturing (using procedural materials designed in Cinema 4D)
the patterns. I found Marvelous Designer less than intuitive when it comes handling
UV’ing and texturing, so for future projects I’ll execute this phase in my 3D app which is
sometimes Blender and other times Cinema 4D.
Been playing with Cinema 4D’s Mograph module to create some motion graphics.
one point to note is that the wavy floor effect is controlled and ‘Driven’ by the intensity of
the search light’s Visibility Brightness value – was easy to set up
It’s actually fun to use effects on top of each other but I did learn the following along the
way:
Keep geometry simple – to help with workspace speed
You don’t need that high a anti-aliasing setting if using sub frame motion blur
Going to use the ‘Make Preview – Hardware’ function a LOT more before rendering!
As with all my projects I learn a lot along the way, as I never know how I’m going solve
my sometimes crazy ideas 🙂
I’ve been working on some tests that I may be using see below:
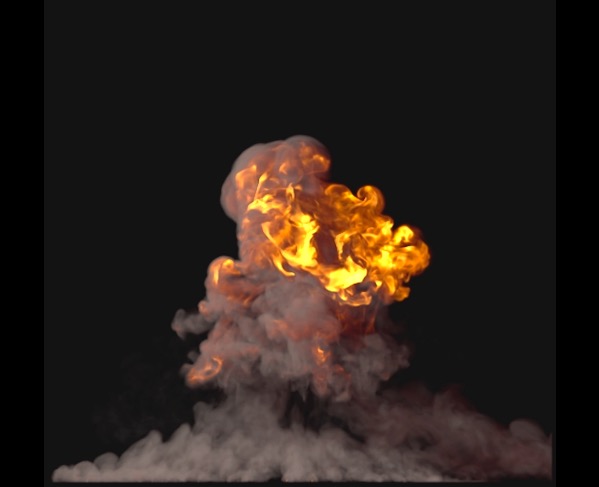
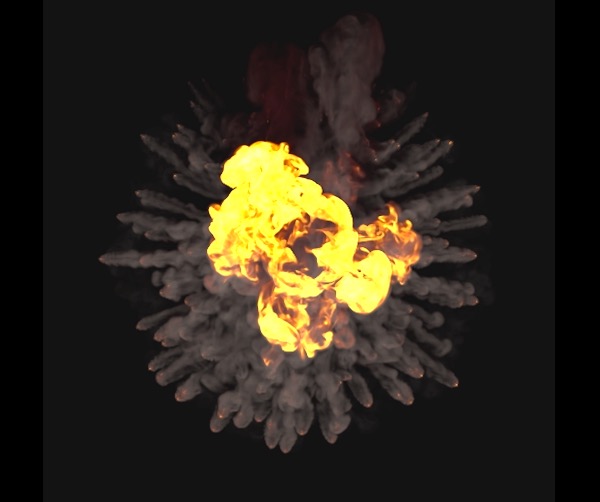
The following explosions were done using Turbulence FD for Cinema 4D
